Managing your RCP Custom fields is as easy as a walk in the park. We will cover the following topics —
- Add New Fields
- Clone Field
- Delete Fie
Add New RCP Custom Fields
Adding a new custom field can be done by clicking on the Add New button below any section where you want to add a new field.
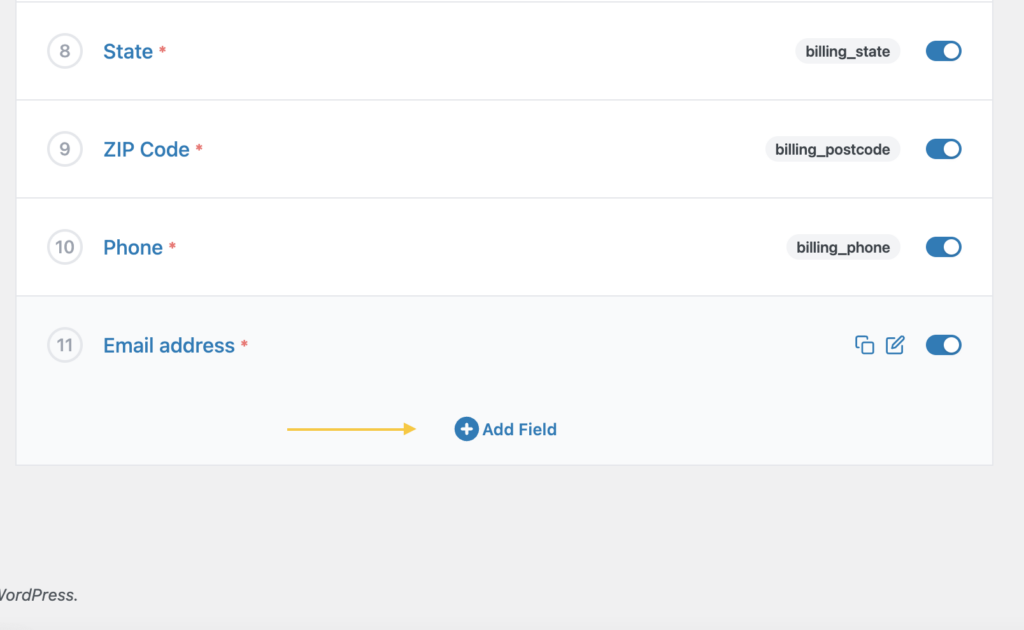
Clicking on Add New will automatically create a new field with Text Input as the selected field type. You can change the field type to any field that you like.
RCP Custom fields will have some additional field settings that are not present in the default fields.
The first thing you may want to do is to select the field type. After that, change the field name to whatever you want and click on Save button at the top right of the page.
Clone Fields
To clone a field, all you had to do is hover on the field and click the duplicate icon.
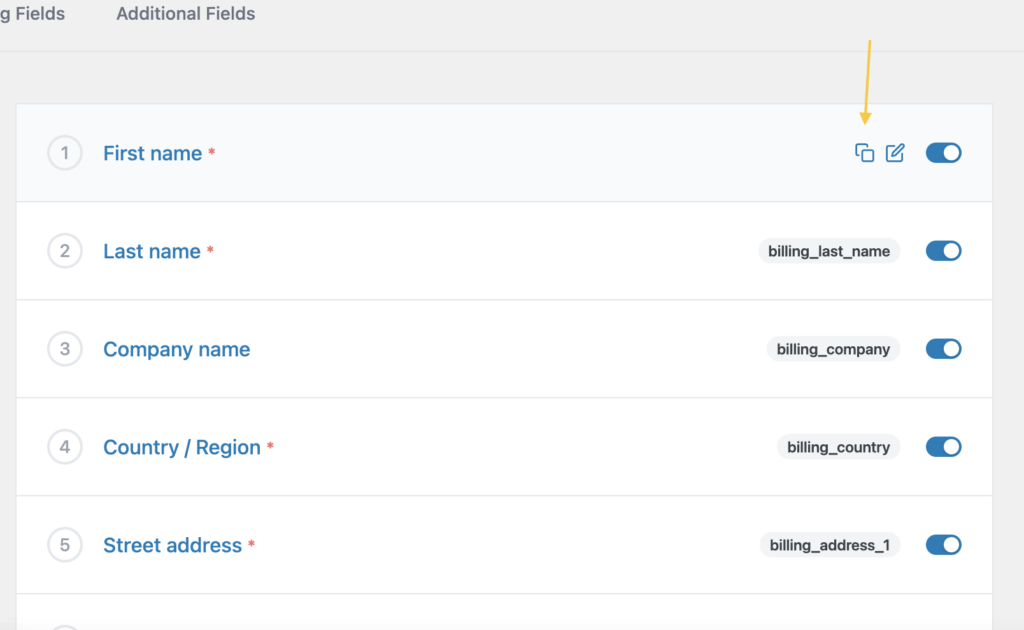
This will clone existing field by creating a new field right below the existing one. All settings will be exactly the same thing except for the field name. Remember, field names are field identifiers and must be unique to each field. To learn more about field settings, please see Field Settings
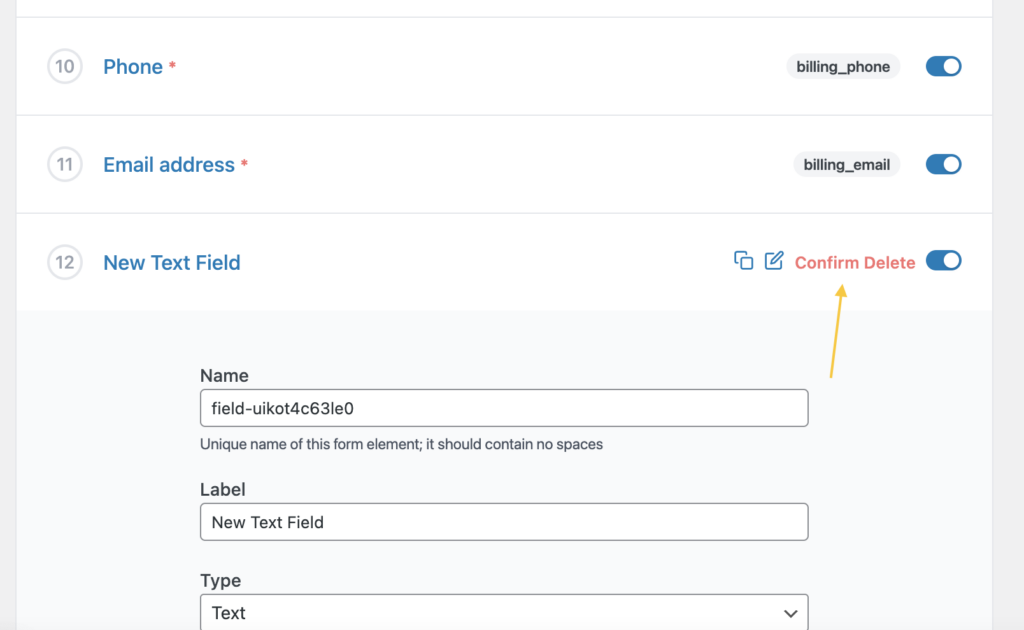
Delete Fields
This completely removes the field and it is irreversible.
Default fields cannot be deleted, for obvious reasons, they were created by Restrict Content Pro. If you don’t want to see a default field, just disable it and it work as though it was deleted.
Any custom field can be deleted and completely removed. To delete a field, please click on the thrash icon and make sure you also click on the “Confirm Delete” button.