Getting Started
WooCommerce Checkoutplus Installation
WooCommerce Checkoutplus is a WordPress plugin and can be installed by locating the zip folder and extracting it in the wp-content/plugins folder of your website.
The easiest way to install this plugin is by going to Dashboard/Plugins page of your WordPress Dashboard and clicking on the Add New button. This will show you a GUI uploader that you can click on to locate the zip folder and upload.
Once uploaded and installed, remember to activate your plugin. An unactivated plugin is like money in the bank, it’s just sitting there. Go to Dashboard/Plugins look for Checkoutplus and activate it.
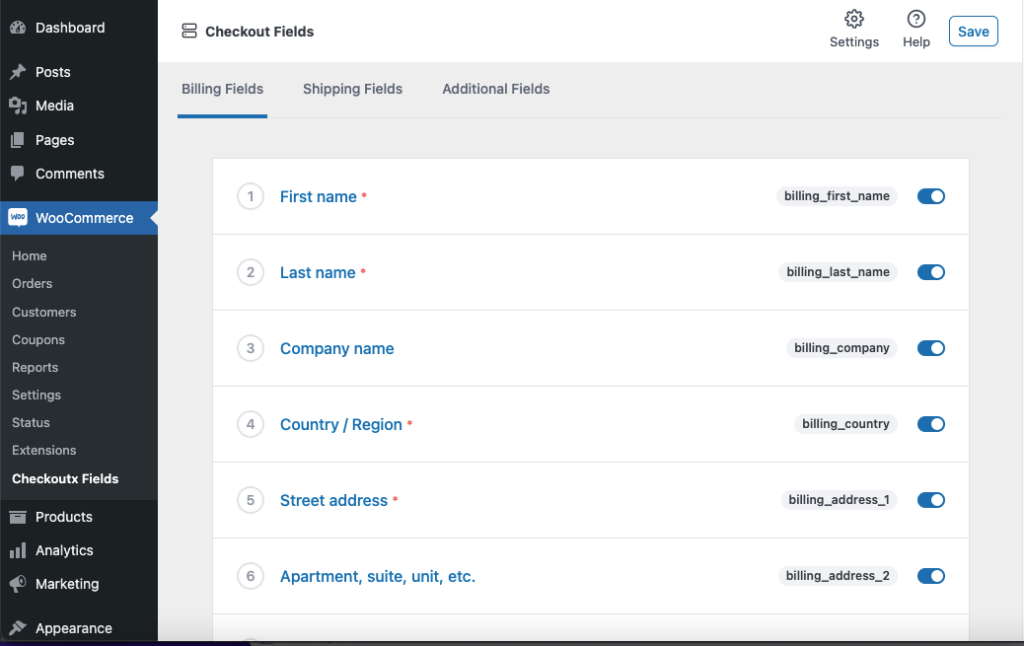
Now you can visit Dashboard/WooCommerce/Checkoutplus Fields and your dashboard page should look like this —
Home Screens Features
Your screen is divided into five major sections. I will explain what each section is —
Checkout Billing Fields
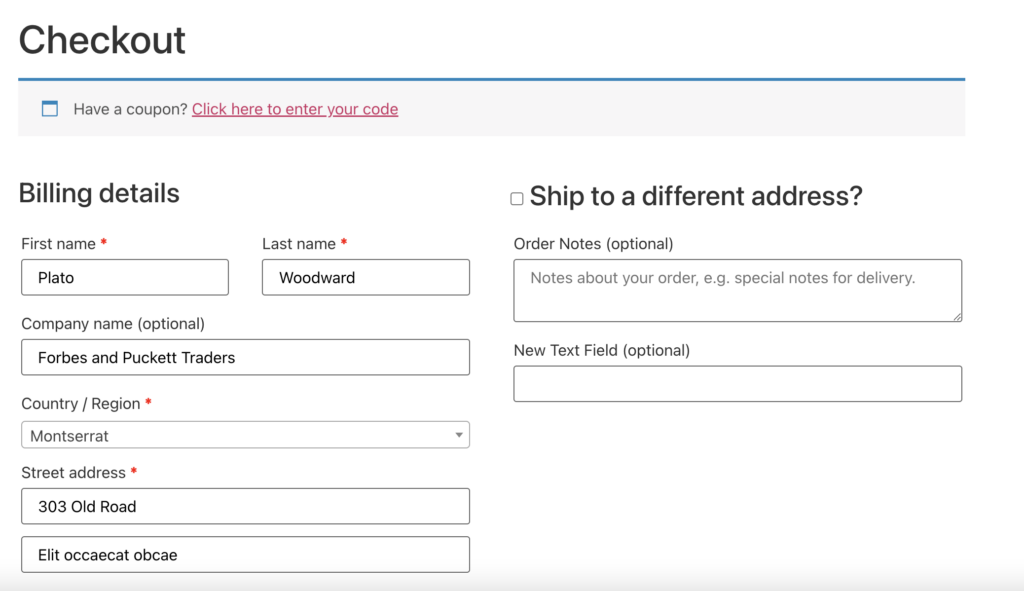
This contains all the fields that will appear under the Billing details section on the WooCommerce checkout page of your website. By default, there are a couple of fields added by WooCommerce e.g First name, Last name etc Below is a screenshot of what Billing details looks like on the
Checkout Shipping Fields
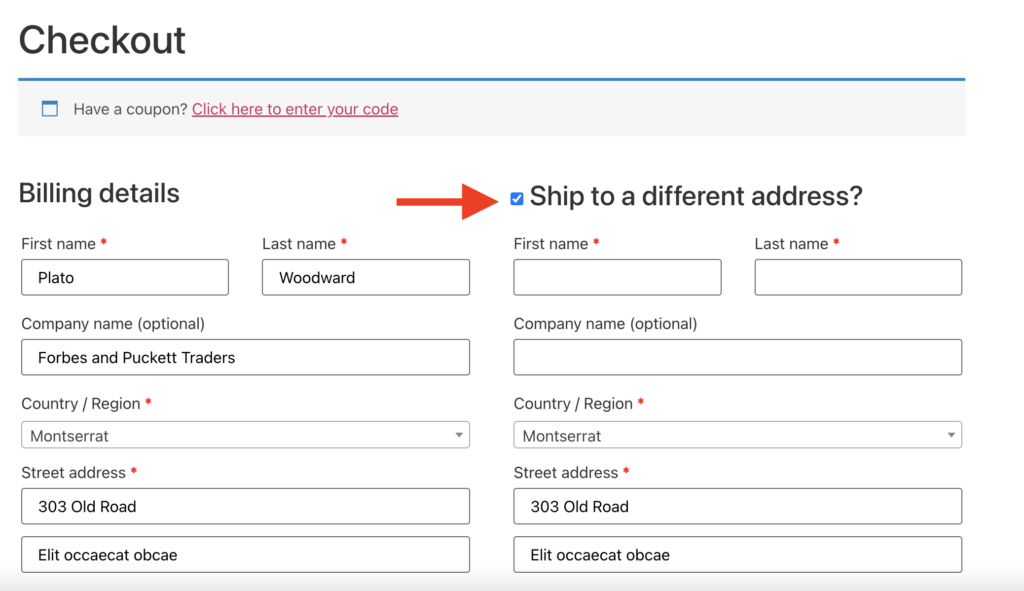
This contains all the fields that will appear under the Shipping details section on the WooCommerce checkout page of your website. If shipping is not enabled, either for the particular product or generally, you will still be able to manage your fields but the fields will not appear on the frontend checkout fields. This means, you won’t be seeing “Ship to a different address?” and the fields under it. By default, there are a couple of fields added by WooCommerce eg First name, Last name etc Below is a screenshot of what Shipping details looks —
Checkout Additional Fields
Additional fields are fields that you don’t want to appear under billing or shipping sections. By default, just one field is added by WooCommerce i.e Order Notes. You can add any field above or below the Order Notes.
Settings
The Settings page is where you can manage some related options that will make you enjoy your experience.
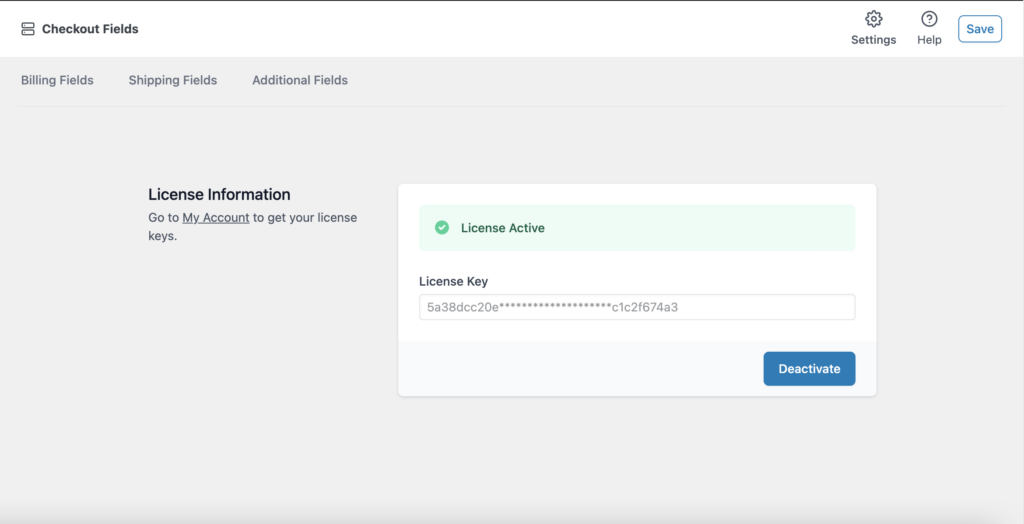
License
The very first thing you will see here is the ability to add your License Key.
Without the License key you will not be able to receive updates to your plugin. Some of these updates are bug fixes or features but some are extremely important like security patches, so it’s highly recommended that you update your plugins regularly.
Help
The Help section contains links to important pages that can help you configure woocommerce checkoutplus plugin the best way possible.