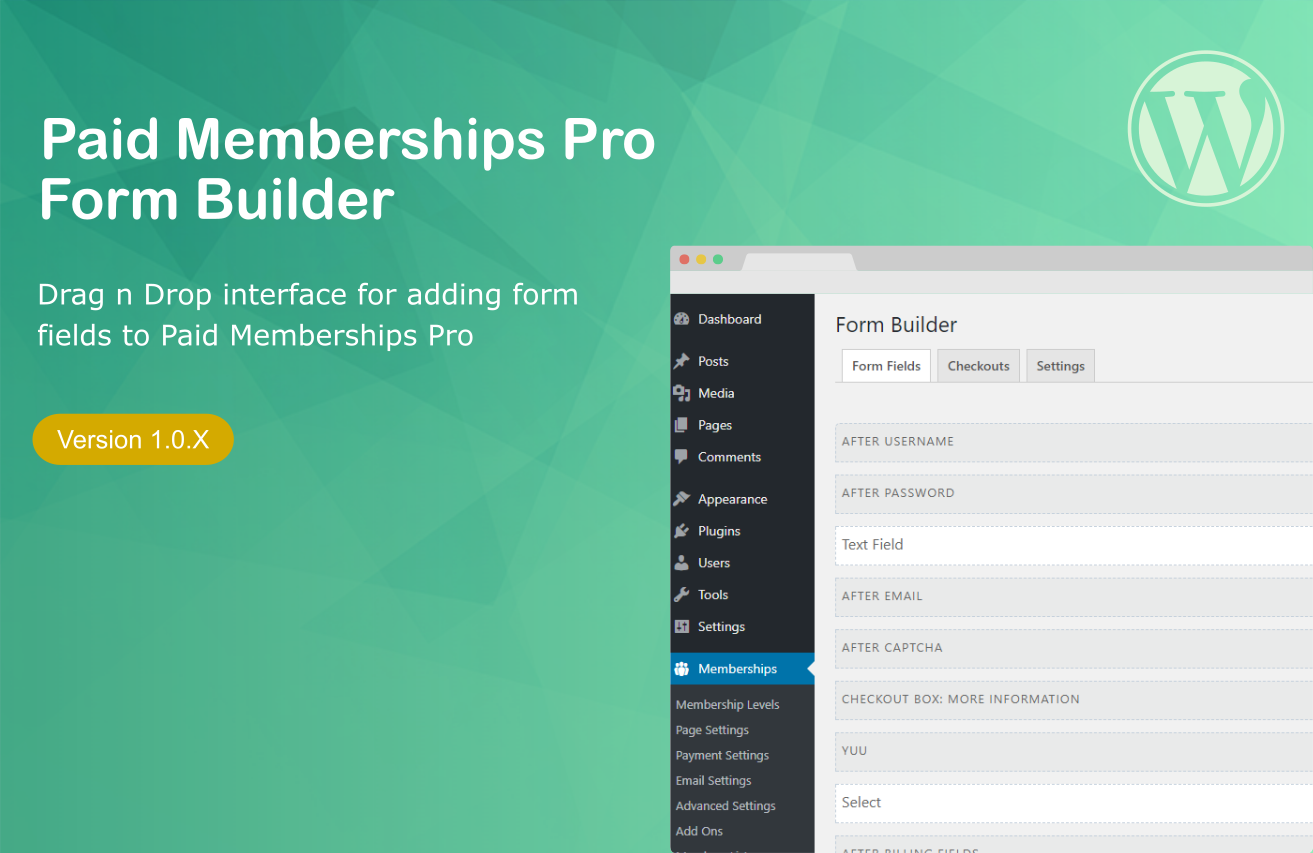
There is now a drag-and-drop page builder that you can use to create form fields on the fly. Download it here
Arguably the best WordPress membership plugin out there, Paid Memberships Pro (PMPro) will help you create a membership website quickly and easily. What attracts me as a developer is the numerous amount of hooks and filters this plugin has, that is, it is easy to bend it to do whatever you want.
When it comes to creating custom fields, it appears a bit difficult. But I am going to walk you through how, making it super easy for you.
Did I tell you you don’t need a PRO licence to do this? Thanks to the Coleman couple.
I am going to assume you have installed Paid Memberships pro and your checkout page looks similar to this (depending on your payment gateway)

Step One: Install and activate “Register Helper Addon”
This is the plugin that will do the dirty job of adding a field for you. The plugin is freely available in the WordPress repository here
Step Two: Find “functions.php” file in your theme folder
We need a file to type in your code and a very good place is inside your functions.php file. Locate to your theme folder and open functions.php. Scroll to the last line and …
Step Three: Copy and Paste the Code below
Who doesn’t like copy n paste 🙂
/**
 * Modifies Paid Memberships Pro to include more profile fields.
 *
 */
function mytheme_add_fields_to_signup(){
	//don't break if Register Helper is not loaded
	if(!function_exists( 'pmprorh_add_registration_field' )) {
		return false;
	}

	$fields = array();

	//add the fields to default forms
	foreach($fields as $field){
		pmprorh_add_registration_field(
			'',	// location on checkout page
			$field	// PMProRH_Field object
		);
	}
}
add_action( 'init', 'mytheme_add_fields_to_signup' );
The code above, though powerful, does nothing. “Should I delete it?” No please!!!. It first checks if you have followed step one above. Secondly it creates an empty field array and then adds it to the default fields. Since 0 + 5 = 5, nothing appears. Now let’s add a field to it.
Step Four: Adding My first field
Replace the code above with this:
/**
 * Modifies Paid Memberships Pro to include more profile fields.
 *
 */
function mytheme_add_fields_to_signup(){
	//don't break if Register Helper is not loaded
	if(!function_exists( 'pmprorh_add_registration_field' )) {
		return false;
	}

	$fields = array();

	$fields[] = new PMProRH_Field(
		'mytheme_phone',// input name, will also be used as meta key
		'text',	// type of field
		array(
			'label'		=> 'Telephone',// custom field label
			'size'		=> 40,// input size
			'profile'	=> true,// show in user profile
			'required'	=> true, // make this field required
		)
	);

	//add the fields to default forms
	foreach($fields as $field){
		pmprorh_add_registration_field(
			'after_email',	// location on checkout page
			$field	// PMProRH_Field object
		);
	}
}
add_action( 'init', 'mytheme_add_fields_to_signup' );
We have two new things in the code above. The first is $fields[] while the second is after_email. If all you want is something that works, you got it. If you want to know how you can do more read the explanation below:
- ‘mytheme_phone’: Change this name as you wish. PMPro will create a new field item with this name. If you want to populate existing fields, use their ids eg ‘first_name’
- ‘text’: This is the type of field. Avaialbe types are textarea, radio, checkbox, select etc
- ‘after_email’: This is where your new profile field will appear. Available options are
- after_username
- after_password
- after_email
- after_captcha
- checkout_boxes
- after_billing_fields
- before_submit_button
Step Five: Adding My second field
It was easy adding the first field, right? Now let’s add another. Replace the code above with this:
/**
 * Modifies Paid Memberships Pro to include more profile fields.
 *
 */
function mytheme_add_fields_to_signup(){
	//don't break if Register Helper is not loaded
	if(!function_exists( 'pmprorh_add_registration_field' )) {
		return false;
	}

	$fields = array();

	$fields[] = new PMProRH_Field(
		'mytheme_phone',// input name, will also be used as meta key
		'text', // type of field
		array(
			'label'		=> 'Telephone',	// custom field label
			'size'		=> 40,// input size
			'profile'	=> true,// show in user profile
			'required'	=> true,// make this field required
			'location' => 'after_email',
		)
	);

	$fields[] = new PMProRH_Field(
    'mytheme_gender', // input name, will also be used as meta key
    'radio', // type of field
    	array(
        'options' =>
            array(
                'male' => 'Male',
                'female' => 'Female'
            ),
        'class'=>'gender_css', // custom class
        'label'=>'Gender?', // custom class
        'profile'=>true, // show in user profile
        'required'=>true, // make this field required
				'location' => 'before_submit_button',
  		)
    );

	//add the fields to default forms
	foreach($fields as $field){
		pmprorh_add_registration_field(
			$field->location,// location on checkout page
			$field// PMProRH_Field object
		);
	}
}
add_action( 'init', 'mytheme_add_fields_to_signup' );
You must have noticed at least two changes. Let me highlight the changes and explain. Firstly, a new field has been added. Secondly a location field has been added.
We needed to add another field so we duplicated $field[] item. It’s as simple as that. To add a new field, just duplicate.
The second is very optional. Without adding the new ‘location’ line, everything would work well. The only thing is that all new fields will be added ‘after_email’. Why? Because ‘pmprorh_add_registration_field’ contains only one location. By giving each field a location, you can control their placement.
That’s it. If you have questions, please shoot them below

Leave a Reply