Before we consider managing your fields, it’s important to know what field settings we have. We will cover the following topics —
- Default Fields
- Field Settings
Default Fields
These are the default fields added by Restrict Content Pro. It’s very important to keep this in mind since we will be making reference to this later.
Field Settings
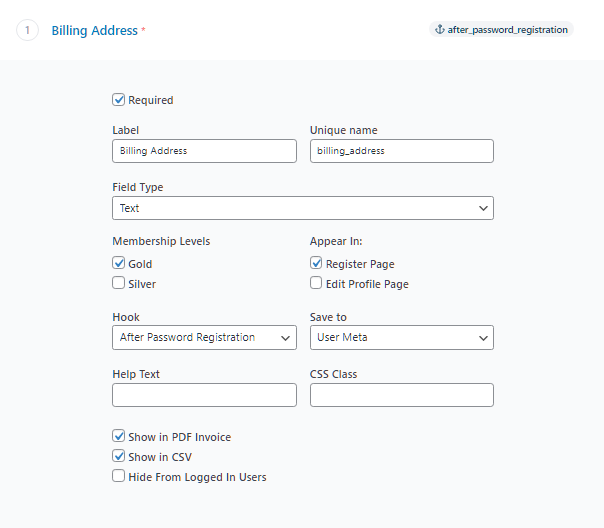
Unique Name
Unique name is the identifier of any field. The value of any field is stored with this identifier. As a result, it should be unique. You should never use the same name for two fields. Fields name should not contain spaces. A good example of a field name is billing_address.
As a matter of convention, it’s always good to prefix your fields with what it relates to. For example, if you are collecting street address of your customers for example, you can say customer_address. If you’re adding a field that collects age of customers, you can use any of the following customer_age.
There are some field types that do not require name since no value will be collected. A good example is HTML field type.
If you were creating a form with HTML, this is what name would look like <input name="" />
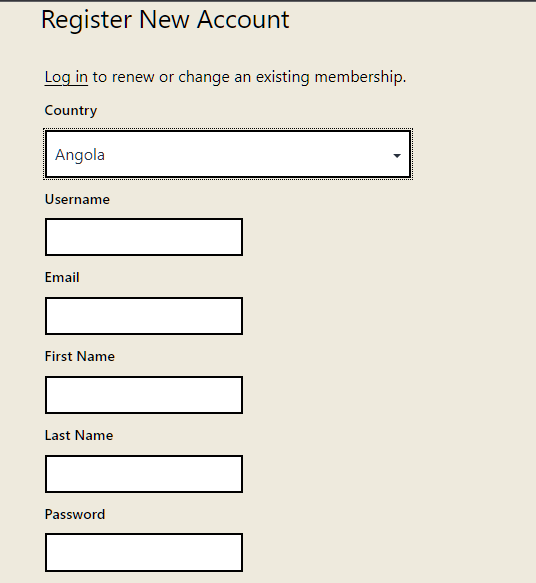
Label
Label is the text beside or above each input. it’s what tells your customers what field they’re interacting with. It is highly recommended to show labels since screen readers actively look for it.
If a field is required, there is a be an asterisk beside the label showing it’s required. It can be toggled on and off by checking the checkbox beside ‘required’.
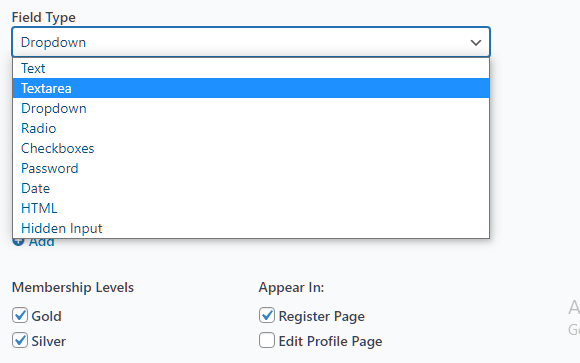
Fields Type
Currently, we support the field types listed below. This is something that will change very often as we are actively trying to add as many fields as we can to make sure you are able to collect any information you want.
CSS Class
You can add single or multiple CSS classes to your fields. This is necessary when you want to style your field or when you want to position your field. You can use the available default CSS classes in addition to other classes you want.
form-row-first: your field will be positioned to the left and the width will be decreased to 50% of the available space.
form-row-last: your field will be positioned to the right and the width will be decreased to 50% of the available space.
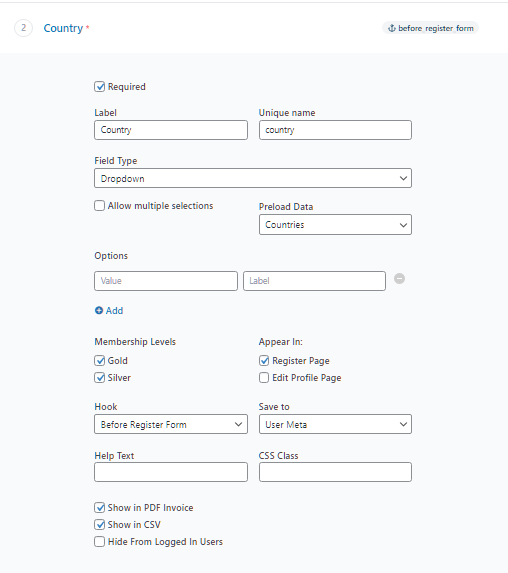
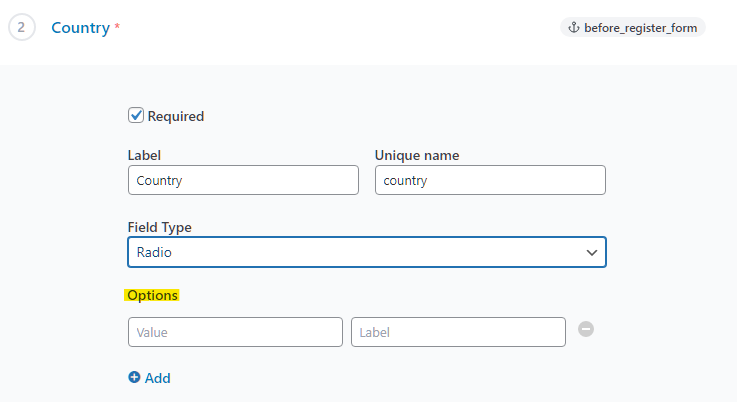
Options
Options field setting allows you to set options that the customer will select. This setting only appears on certain fields type. Field types like Select and Radio have this setting because they require users to select values.
Where options appear, there must be a minimum of one (1) option.
Options are divided into two (2)
- Label – This is the text that will appear in the dropdown or beside the radio, it’s what your customers will see
- Value – This is hidden, your customers wont see it but it is what will be sent to the server. It’s recommended that it does not contain spaces.
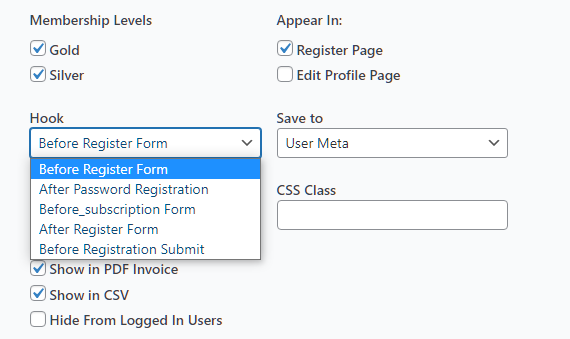
Hook
Hook placement is important. It sets the position of your custom fields in your form. There are 5 different hook positioning usable by your customized form field. To know how to do this, please visit Hook.